
On the official hostry website, tariffs are provided for Storage usage only. These plans have one exceptional feature: excellent value for the disk size (100GB to 2000GB). You can order a tariff plan using this link
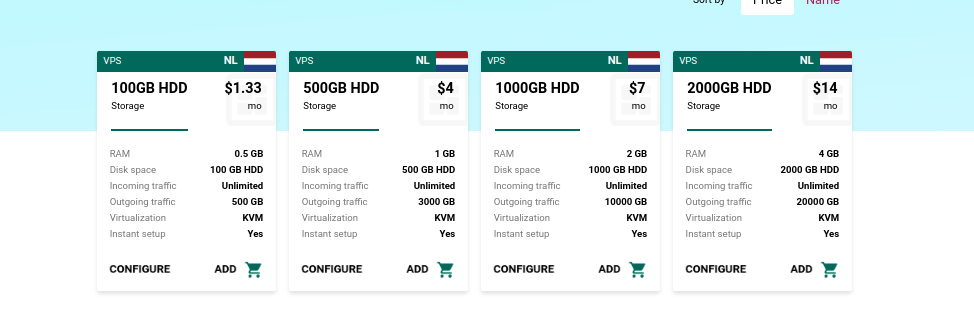
You can use this tariff plan while actively using your CDN. How can you benefit from this and how can you use these exceptional rates?
First, it will provide you with an amazing ability to upload large files without uploading to the main site. This will help make your site less busy and will allow the work and processing speed of your site to be much faster. In order to set up your CDN using Storage VPS plans, you need to take the following steps.
Setting up your web server
In order to proceed to the stage of configuring your web server, you need to log in. This can be done by logging into the server using ssh or vnc.
First, we recommend that you configure your web server. You can use nginx, for example. You can install it as follows:
apt install nginxThen you need to go to the next directory for pre-configuration
var/www/htmlIn this directory, you need to find the index.html file and proceed to editing it. For example, you can upload a picture to your web server, then check it by entering your IP address into the address bar of your browser
http://Your_IP_addressIf all the steps were followed correctly, you will get a display of your picture in the browser.
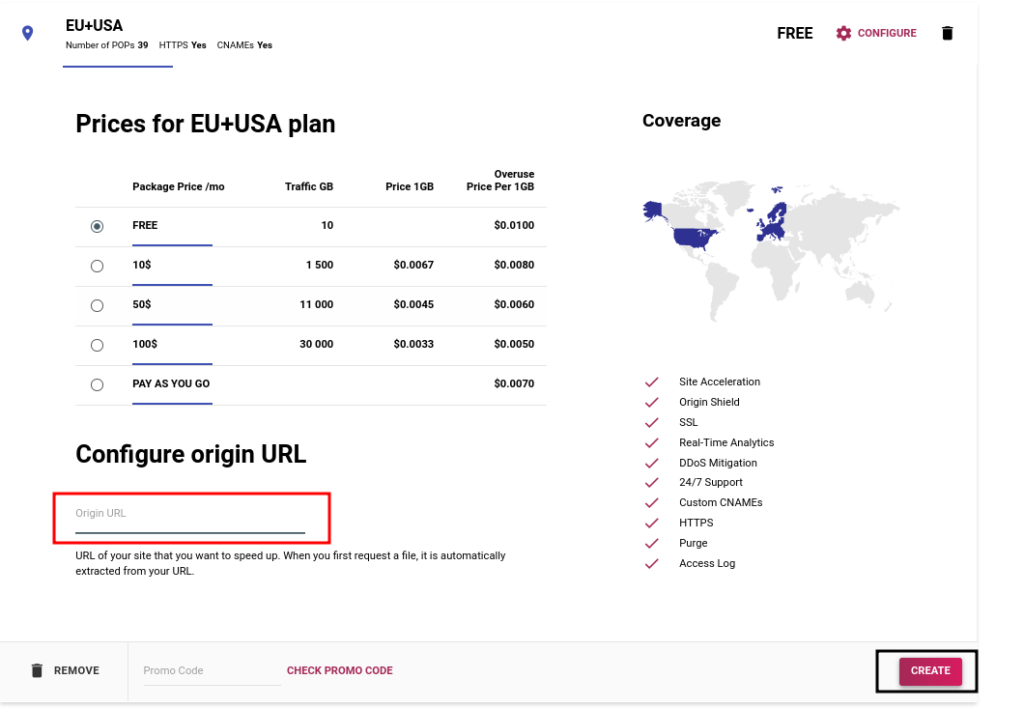
Next, you need to move on to setting up your CDN. If you do not currently have an active service, we recommend that you purchase it, as shown in the screenshot below. In the Origin column, you can insert your domain name, or your server IP address.
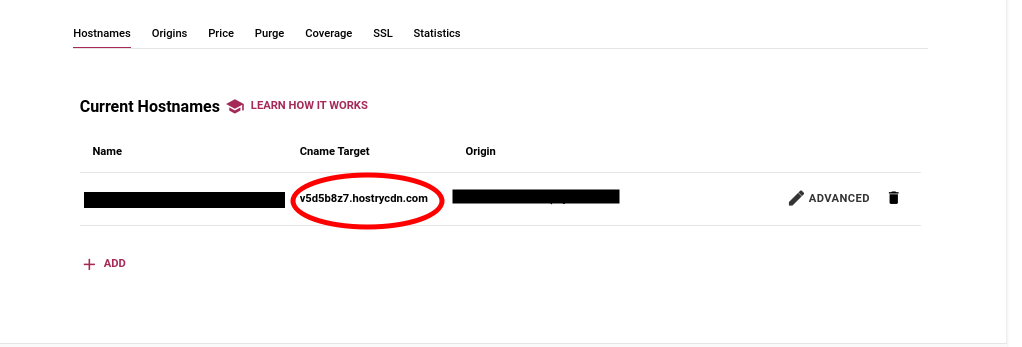
After a successful order, you need to replace your website link with your Cname Target. You can get it automatically, by means of when you order your CDN and you can find it here
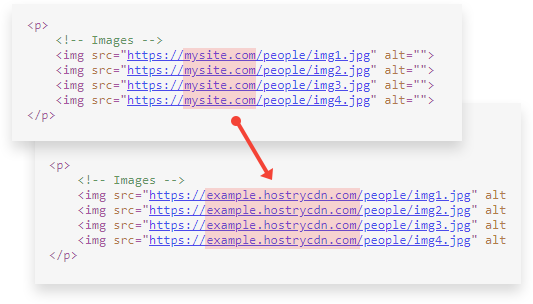
It is necessary to make changes directly as indicated in the following example.
WordPress Integration
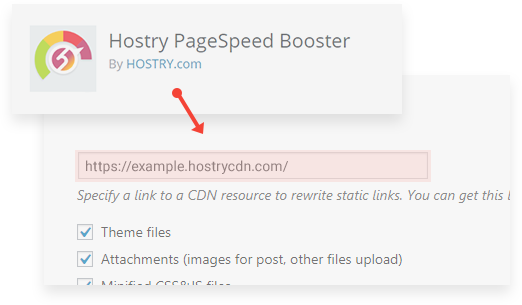
If you have a ready-made website written in WordPress CMS – we have a great option for you! We can provide you with a ready-made plugin. Its task is to simplify your integration with the WordPress site. Install HostryCDN as a service link in Settings. Save your changes and your entire project will be overwritten with HostryCDN references https://example.hostrycdn.com/ You simply link to the service CDN in the plugin.
Leave A Comment?
You must be logged in to post a comment.