

About The Most Popular Web Service
Web Service Apache2 is the most popular today. This software with the source code, is a web server that successfully provides about 46% of sites all over the world today! Its official name is Apache HTTP Server. The Apache Software Foundation actively develops and supports it in work and in updates.
When you want to visit any site, for this you enter the domain in the address bar of your browser. Then the web server does the following work: it delivers the requested files as a virtual messenger. This web server is one of those who have extensive experience in servicing sites; it is distinguished by its reliability from its first release (in 1995) to the present day!
How to configure Apache2 on Ubuntu 18.04
First you need to update Ubuntu;
sudo apt updateNext is the installation;
sudo apt install apache2Check the web server using the following command;
sudo systemctl status apache2After asking for its status and successful installation, you should be shown the following:
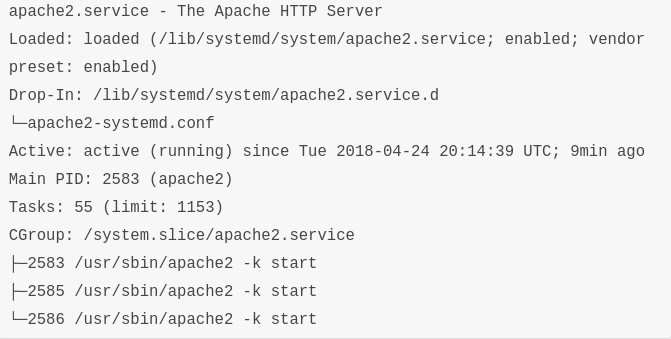
The standard landing page is launched as follows:
http://your_server_ip
Leave A Comment?
You must be logged in to post a comment.