
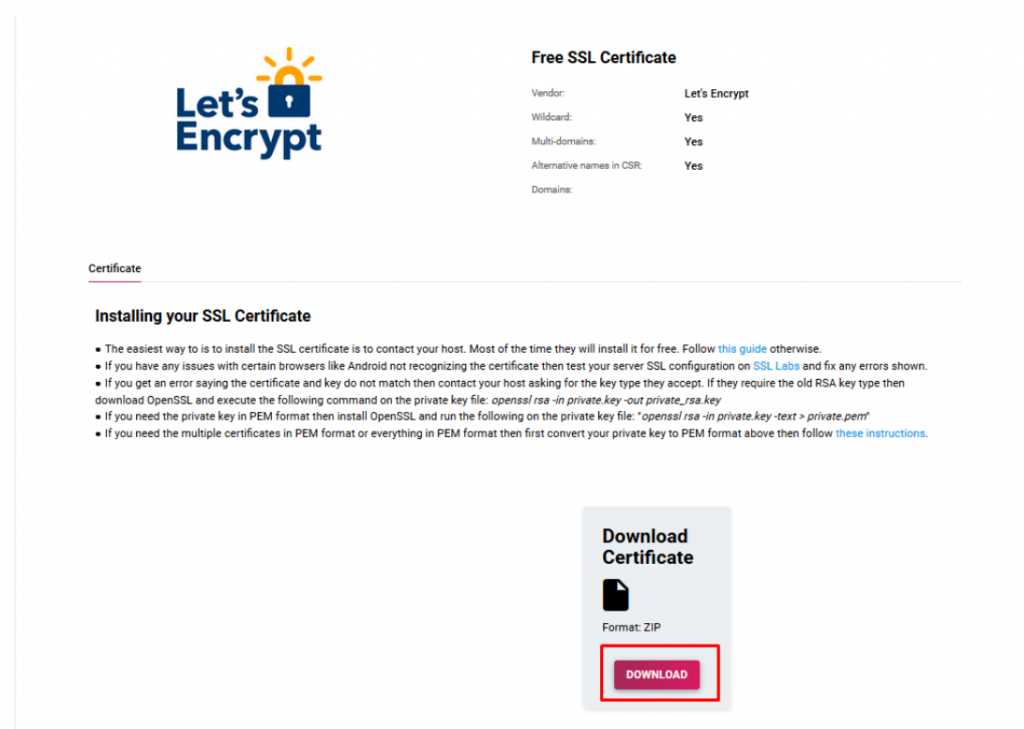
After successfully installing the SSL certificate Let’s Encrypt, you need to download the files located in the “ZIP” folder. This folder must be unpacked. You can order the New SSL Certificate Let’s Encrypt by chicking in the link: https://hostry.com/solutions/ssl-for-free/
Then, issuing the certificate you will need to configure Nginx . You must save the primary, intermediate certificates and private key to a folder on the server
After that, you need to open the nginx configuration file. Usually, it is located in the following way: /etc/nginx/sites-available. As a rule, the file should be called default.
IMPORTANT!
You need to create two independent configurations for the HTTP and HTTPS protocols. A domain must address both protocols. If you do not register the connection via HTTPS, then your site will not be protected, and if it will not be registered through HTTP, the site will not open.
In the default configuration file you need to make changes. In order for your HTTPS to be present in the configuration file, you need to specify the following:
server {
 listen              443 ssl;
 server_name         www.example.com;
 ssl_certificate     etc/ssl/ctr/ca_bundle
 ssl_certificate_key etc/ssl/crt/private.key

 ...
*In this case, server_name is your existing domain (site), where both port 80 and port 443 will be referred to.
- Ca_bundle – Public server certificate. It is sent to each client connecting to the server
- Private.key – The private key should be stored in a file with limited access (permissions should allow the main nginx process to read this file).
After configuration, you must restart nginx:
systemctl restart nginx
Leave A Comment?
You must be logged in to post a comment.