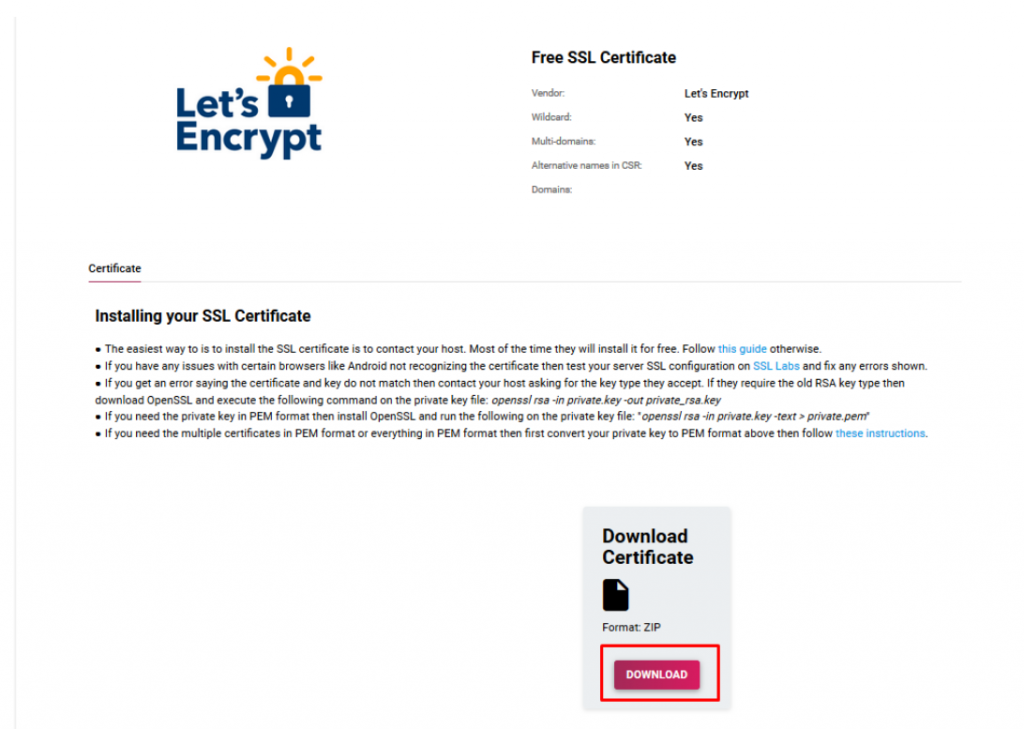
After successfully installing the ssl certificate Let’s Encrypt, you need to download the files located in the “ZIP” folder. This folder must be unpacked. You can order the New SSL Certificate Let’s Encrypt by chicking in the link: https://hostry.com/solutions/ssl-for-free/

You need to open the folder with the files needed to install the certificate. They need to copy them in a text editor.

Then, issuing the certificate you will need to configure Apache. To configure Apache2, you must save the primary, intermediate certificate and private key to a folder on the server.
After, you need to open the Apache configuration file in a text editor. Apache configuration files are usually stored in /etc/httpd/ or /etc/apache2/. The main configuration file is usually called httpd.conf or apache2.conf
If You need the site to be accessible via a secure connection (HTTPS) and also through an unsecured connection (HTTP) You will need to create a virtual host for each type of connection. Copy the existing virtual host for the http connection and change the port from 80 to 443.
Then in this case You need to add the following:
<VirtualHost 192.168.0.1:443>
     DocumentRoot /var/www/website
     ServerName www.domain.com
     SSLEngine on
     SSLCertificateFile /etc/ssl/crt/certificate.crt
     SSLCertificateKeyFile /etc/ssl/crt/private.key
     SSLCertificateChainFile /etc/ssl/crt/ca_bundle.crt
</VirtualHost> - SSLCertificateFile should be your primary certificate file for your domain name.
- SSLCertificateKeyFile should be the key file generated when you created the CSR.
- SSLCertificateChainFile should be the intermediate certificate file (if any) that was supplied by your certificate authority
After a successful configuration, you must save the changes (Ctrl+S).
It is best to test the configuration in advance for various syntax errors, otherwise Apache simply will not start.
In Finish, restart Apache, using the command:
systemctl restart apache2

Leave A Comment?
You must be logged in to post a comment.