
HOSTRY offers the possibility of adding a custom ISO image into your VM-manager account and install a custom operating system.
In order to upload your own ISO image, please perform these easy steps:
Login into your VM-manager account from your HOSTRY member area
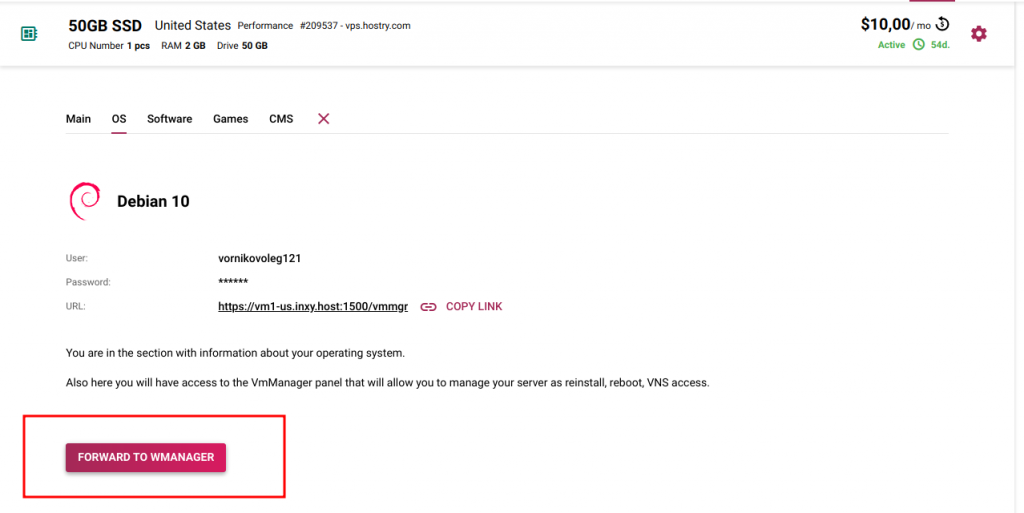
When you are logged in, on a dashboard you will see the icon ‘Uoplad ISO’. Click on it.

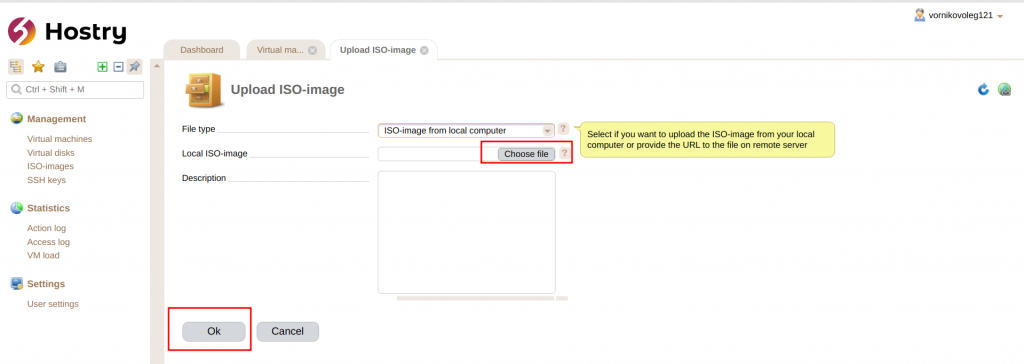
You will be forwarded to the page where you select the ISO file you would like to upload from your local machine. Also you can add a short description of this file.
So, you select the OS, optionally add a description and click on ‘OK’ button. The ISO image upload process will start.
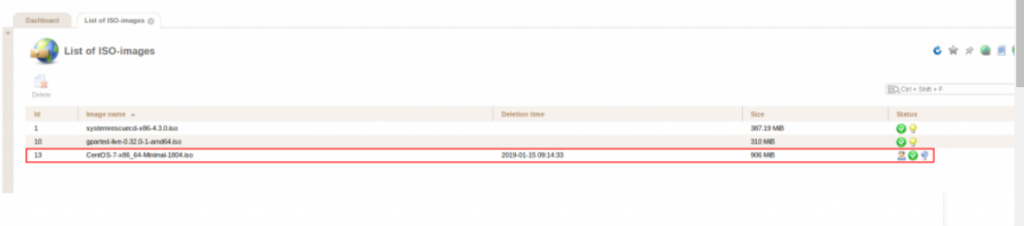
When the upload process is finished, you will automatically be forwarded to the dashboard. Click on ‘ISO images’ button and you will see there your ISO
So now the ISO upload process is finished. In order to reinstall the OS you should power it off (click on ‘STOP’ red button).
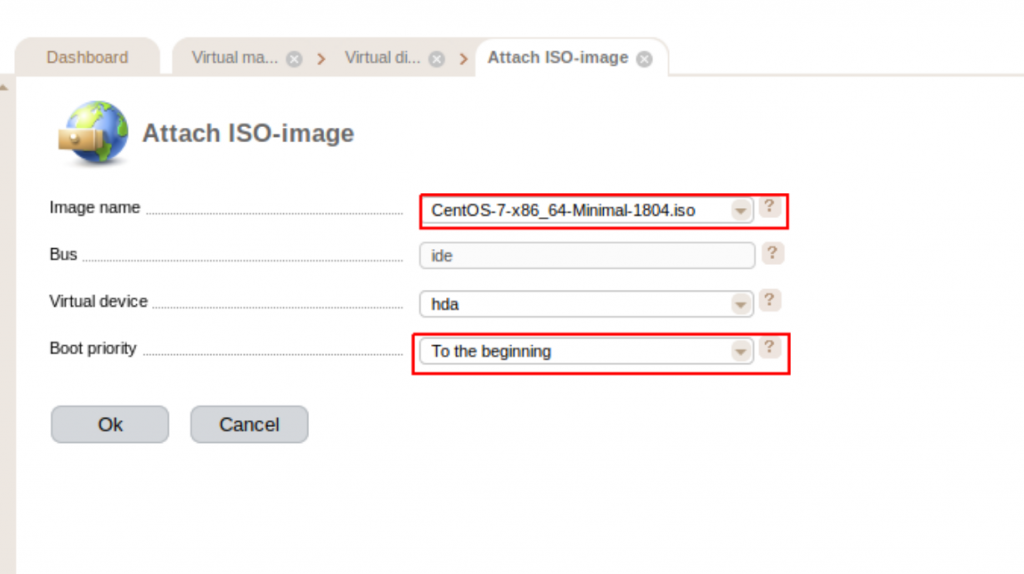
Then click on ‘Disks’ button. There you choose the ‘ISO’ option
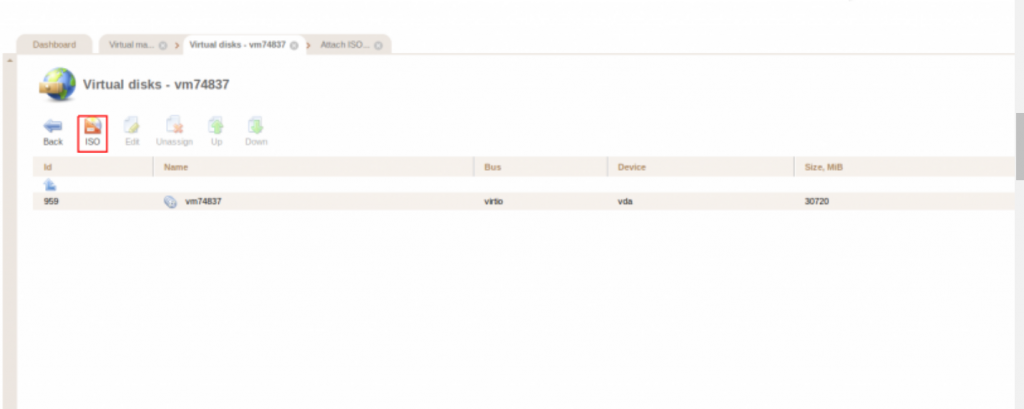
In the appeared tab there will be mentioned The name of your ISO image and you should set the boot priority to ‘To the beginning’ value.
Click OK and power on the VPS. The installation process will start.
Pass through the installation steps and power off the server. Do not forget to unassign the ISO. Then power the VPS on again.
This is how you can add a custom ISO image and install the OS on your server.