
A virtual machine with McMyAdmin panel allows setting up your server options in a matter of a few minutes using a browser.
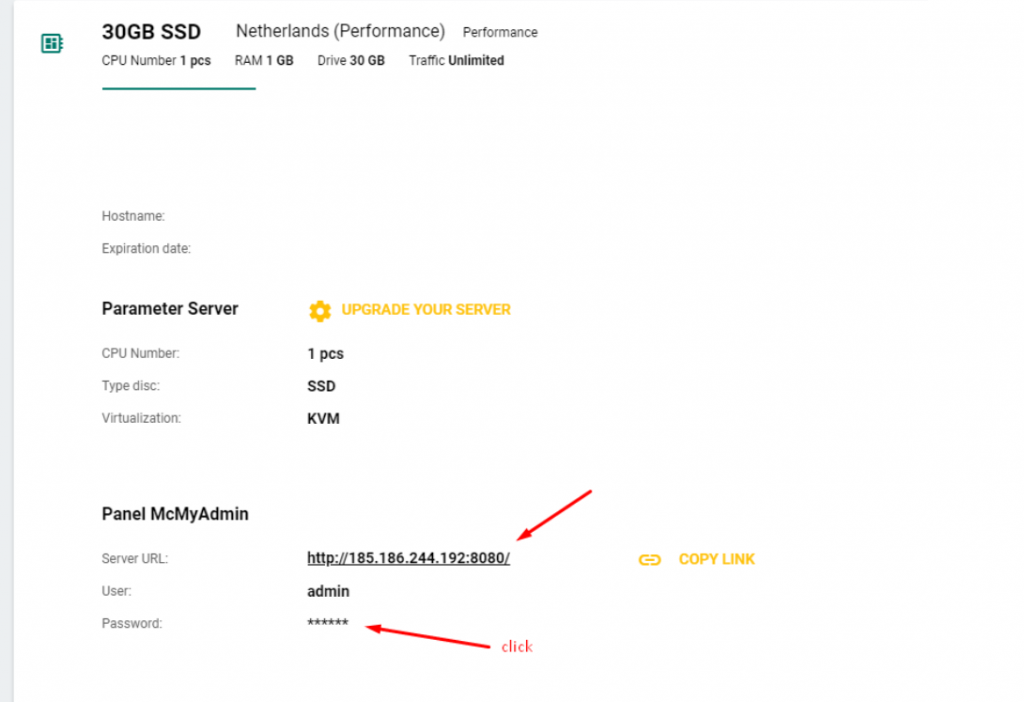
To connect to the server, use login credentials from your personal account. On your server order page, you’ll find the link to the server and authorization data.
Open your personal account and input authorization credentials
If you click on the link to panel, you’ll be directed to the panel as shown below:
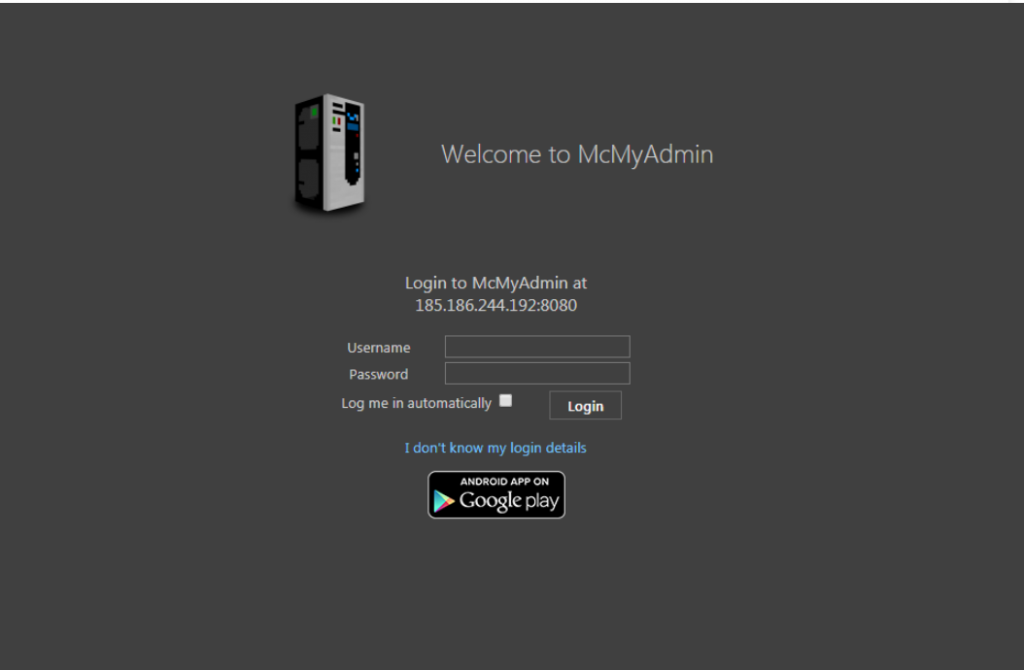
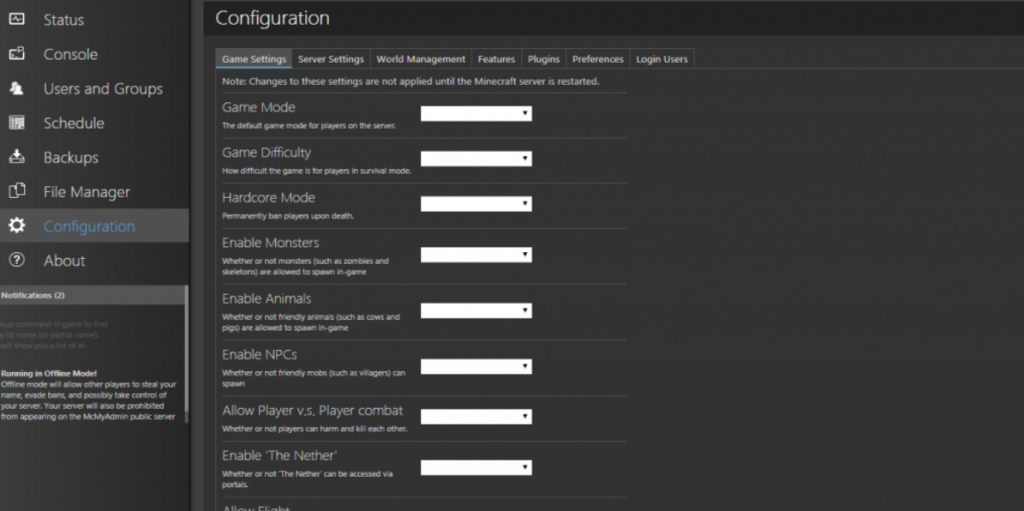
Input login and password and proceed to Configuration page in McMyAdmin panel. Game server is turned off by default.
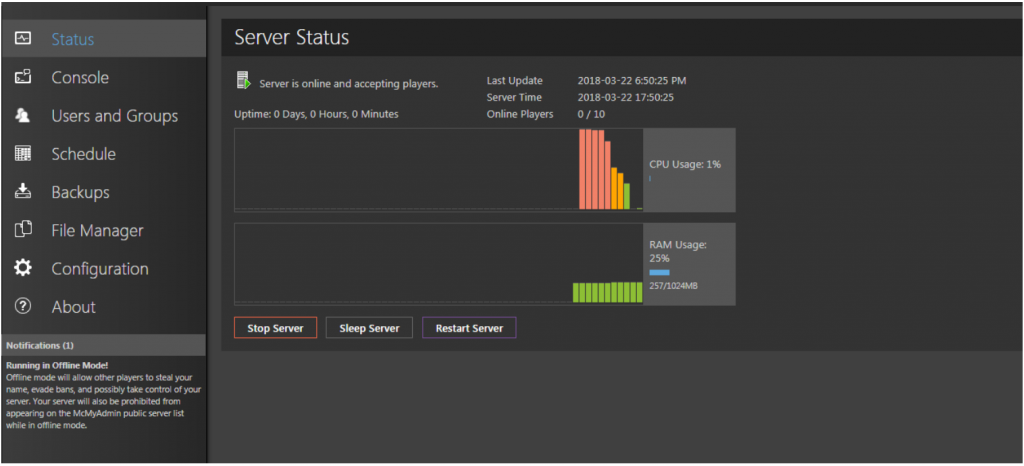
To start the game, open menu by clicking on Status button and press StartServer. Server starting can take about a minute.
After a successful start, you’ll see the following:
Then, you can open Minecraft

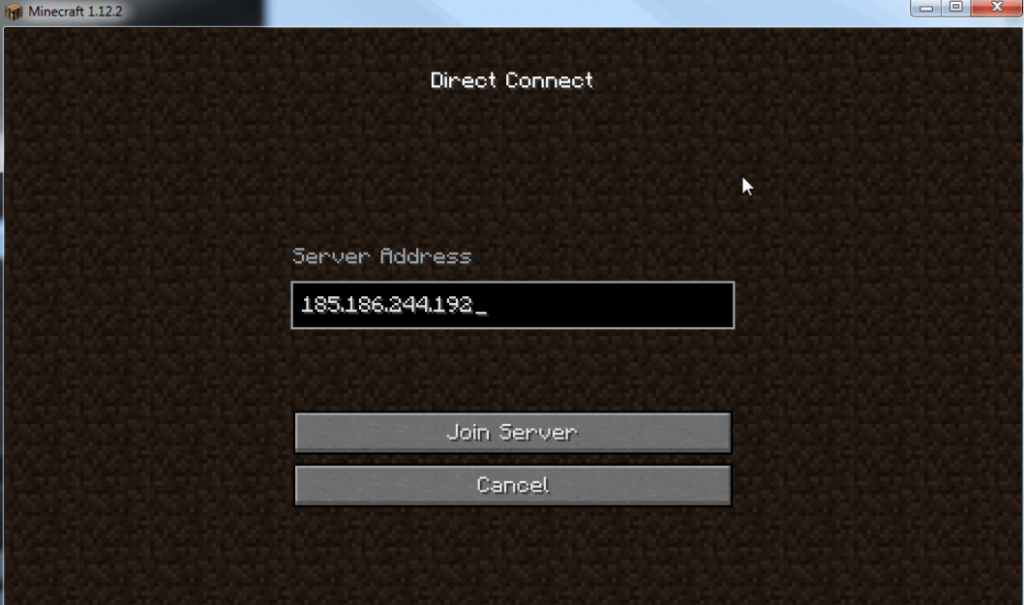
Press Multiplayer then Direct Connect (или Add Server) input your server’s IP (for example,185.186.244.192) and get connected

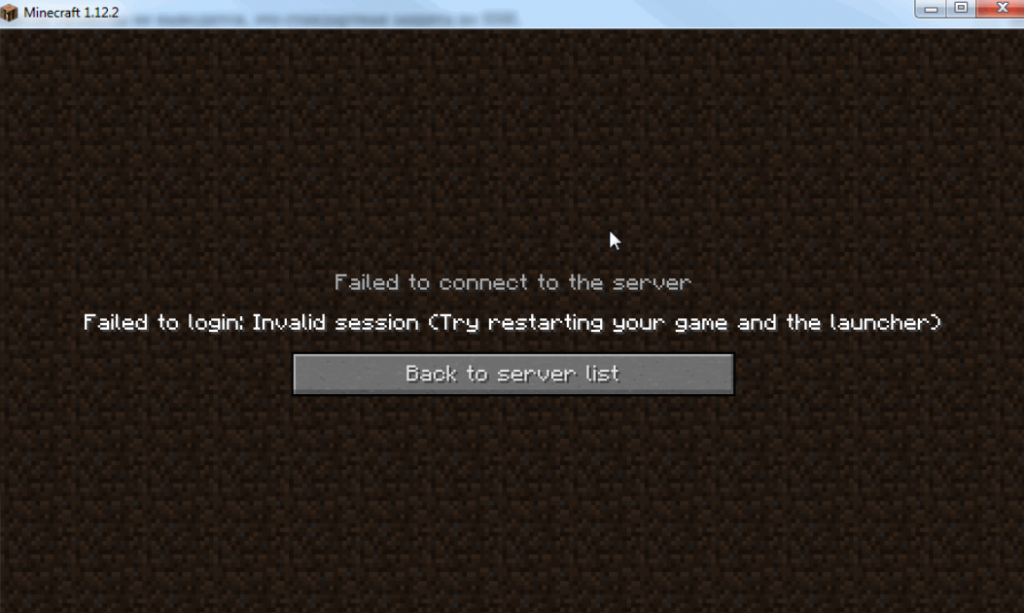
If you see the error “Failed to login: Invalid session (Try restarting your game and the launcher)”
Authorize in the server via SSH connection (here you can see how to use Putty (here you can see how to use Putty here).
After successful authorization, open the file using the following commands:
# su mcmyadmin
# cd ~/McMyAdmin/
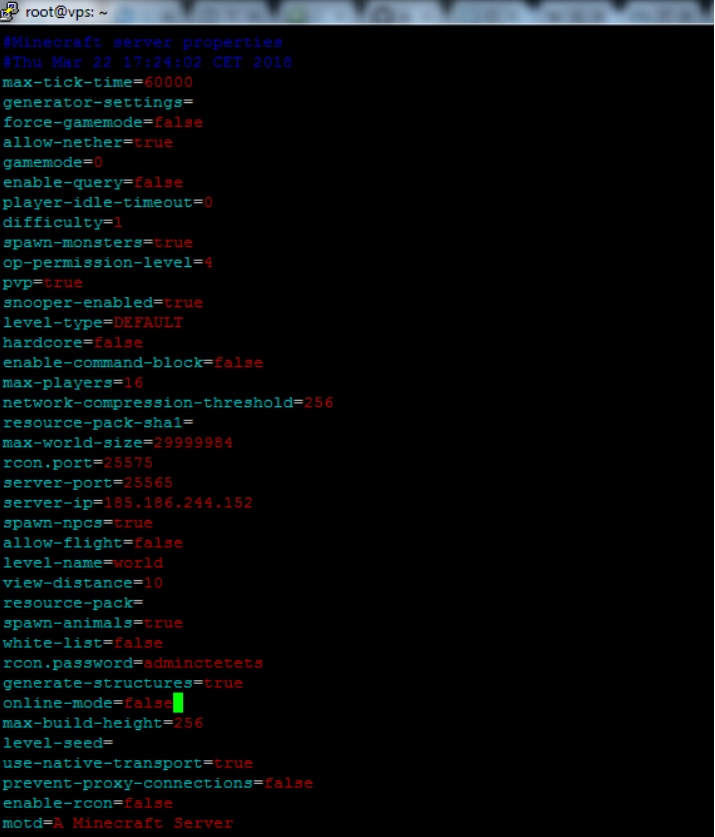
# vim Minecraft/server.propertiesPress INSERT button and proceed to the line with online-mode where you need to select false variables as shown in the picture
To quit the panel, press ESC and type :wq
Restart the server by clicking Restart Server. on the panel
Leave A Comment?
You must be logged in to post a comment.